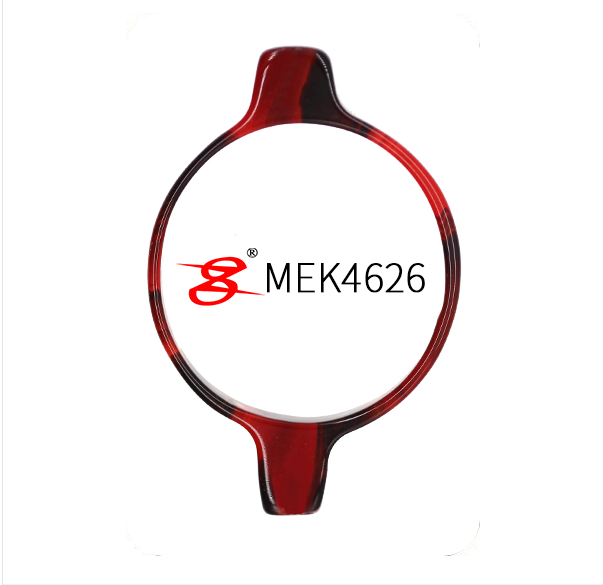
The eyeglass board is made from acetate fiber board material. The characteristics of the board material are that it is not easily flammable, it is almost unaffected by ultraviolet light and does not change color, it is relatively light, has high hardness and good gloss, and has a more aesthetically pleasing style, durable, not easily deformed after wearing, and not easily heat processed, etc.

Made from high-tech plastic memory board material. Plastic is a synthetic polymer compound {polymer ) which can also be called macromolecules, and is commonly referred to as plastics or resin, which can be freely shaped. The main component of plastic is resin. The so-called plastic is actually a type of synthetic resin, resembling natural resin from pine, but due to chemical synthesis, it is called plastic. According to the different physical and chemical properties of various plastics, they can be divided into two main categories: thermoplastics and thermosetting plastics (resins). The plastics (resins) commonly used to manufacture eyeglass frames are mainly thermosetting plastics such as acetate fiber particles, epoxy resin, cellulose acetate, and acetate board. Eyeglass glue board, also known as carbon crystal frame (rack), is manufactured using cold processing, fine, high quality, and durable. Most brand board eyeglass frames are processed from this type of material; they exhibit diverse styles and colorful colors,
making them a favorite among mid to high-end fashion brands; characterized by high strength, sturdiness, memory properties, and not easily deformed, The method to distinguish board eyeglass frames from injection-molded eyeglass frames is: visible cutting marks at the temples. The acetate fiber board used for eyeglass frame production is mainly sourced from Italy, followed by Japan. Steps for making eyeglass boards 1. Frame adjustment: After heating the plastic frame and board frame with a heater, adjust by hand. Use flat-nose pliers and nose bridge pliers to adjust the metal frame. Ensure the inner arc angle of the frame is between 170°~180°, which is the most comfortable for human wear.
2. Nose pad adjustment: Use round-nose pliers to adjust the nose pad bracket to make the left and right nose pads symmetrical. Use leaf pliers to adjust the leaf to make the left and right leaves symmetrical.
3. Adjustment of the frame and temples: Use flat-nose pliers and temple pliers to ensure the positions of the frame and temples are consistent on both sides, and the tilt angle of the left and right temples is less than 2.5°. Use temple pliers to bend the temple tips so that the angle of the temples is 80°~95° and the left and right temples are symmetrical. Bend the temples so that the horizontal lengths of the left and right temples and the lengths of the bent parts are basically the same, and the bending of the temples is also consistent. Place both temples flat on the table, ensuring that the lower part of the frame and the back end of the temples are in contact with the left side without gaps, which can be adjusted by changing the tilt angle of the frame. 4. Temple adjustment: Bring the left and right temples together, ensuring they touch the lower edge of the frame, and are roughly consistent on both sides. Adjust the straightness of the temples so that when they are brought together and placed on the table, they are basically stable and symmetrical when viewed from the front.
5. Precautions: If the lens is distorted, first unscrew the screws, remove the lens, and use frame adjustment pliers to adjust the shape of the frame to make it symmetrical. After installing the lens, ensure the frame is not distorted, then adjust the lens surface to make it flat. When adjusting the tilt of the frame and temples, if the difference is large, use adjustment pliers; if the difference is small, bend by hand.
When the temples are opened flat or inverted on the table, check for flatness by gently pressing the upper part of the corresponding position with a finger. If there are no gaps, the frame will not move; otherwise, the frame will bounce. When adjusting, try to do it step by step, and avoid over-adjusting and then readjusting to prevent damaging the frame.


